
Opening My Scheduler #
My Scheduler is accessible from the My Apps page. Once open, four main navigation sections are available at the top of the screen: Overview, CheckIn, Settings, and Browse.
Overview section #
The Overview section is the primary workspace for daily operations. It displays all scheduled events and lets you schedule new ones. Use the directional arrows to move forward or backward in time, and use the view switcher to toggle between Daily, Weekly, Monthly, and Yearly perspectives.
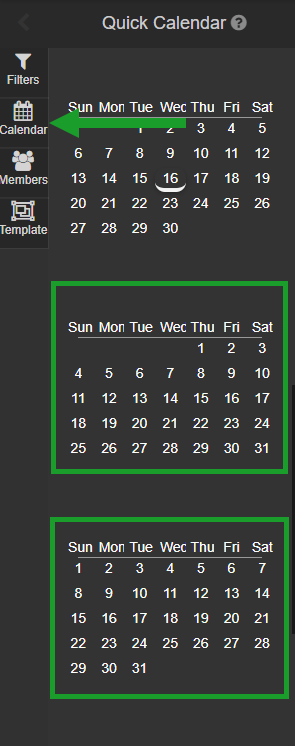
The Quick Calendar on the left sidebar lets you jump to any date quickly without stepping through one period at a time.

CheckIn section #
The CheckIn section is the front-desk tool for marking members present or absent for scheduled events. It displays each event on the current day along with the count of members scheduled, checked in, and marked absent. For full check-in instructions, see Check-in view.

Settings section #
The Settings section holds administrative configuration for My Scheduler. From here you can manage:
- Hours of Operation: the times events can be scheduled each day of the week.
- Holidays and Blackouts: date-specific exceptions that close the club or override regular hours.

Browse section #
The Browse section is where you create and manage the organizational structure that drives your scheduler. It contains:
- Categories: the highest-level grouping (for example, Group Fitness, Personal Training).
- Event Types: specific class or session names within a category.
- Series: the scheduled instances of an event type, with days, times, capacity, and trainer assignments.
- Trainers: instructor profiles linked to events and commissions.
For a full walkthrough of these tiers, see Categories, event types, and series.
Where to go next #
- To add your first room, see Rooms and equipment.
- To schedule events, see Schedule events.
- To configure hours, see Hours of operation.
Need help? #
Contact your ASF account manager at clientsupport@asfpaymentsolutions.com.