
Two ways to schedule events #
My Scheduler supports two approaches to creating events. The Overview screen is best for placing a single, one-off event at a specific date and time. The Browse screen is the right choice when setting up recurring schedules or when you want to add events without first navigating to a particular date.
Scheduling a single event from the Overview #
The Overview approach works best for scheduling a single, non-uniform event on a known date.
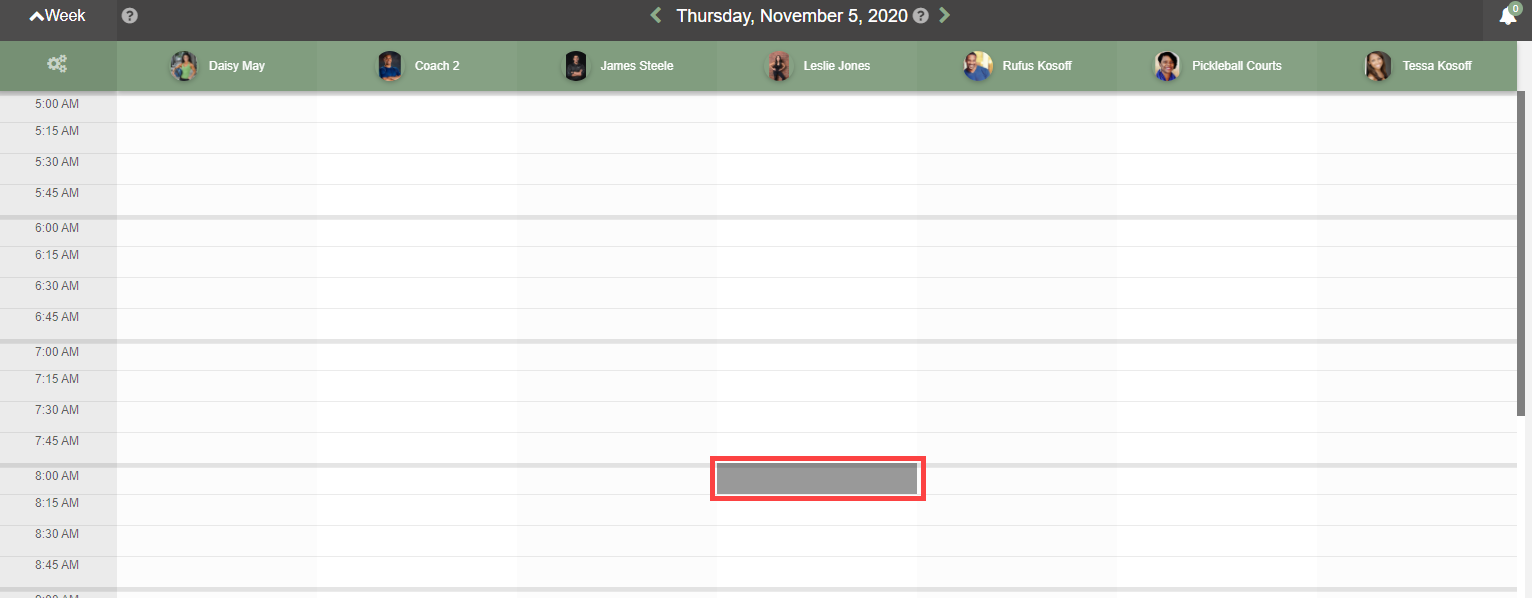
- Navigate to the desired date using the directional arrows or the Quick Calendar sidebar.
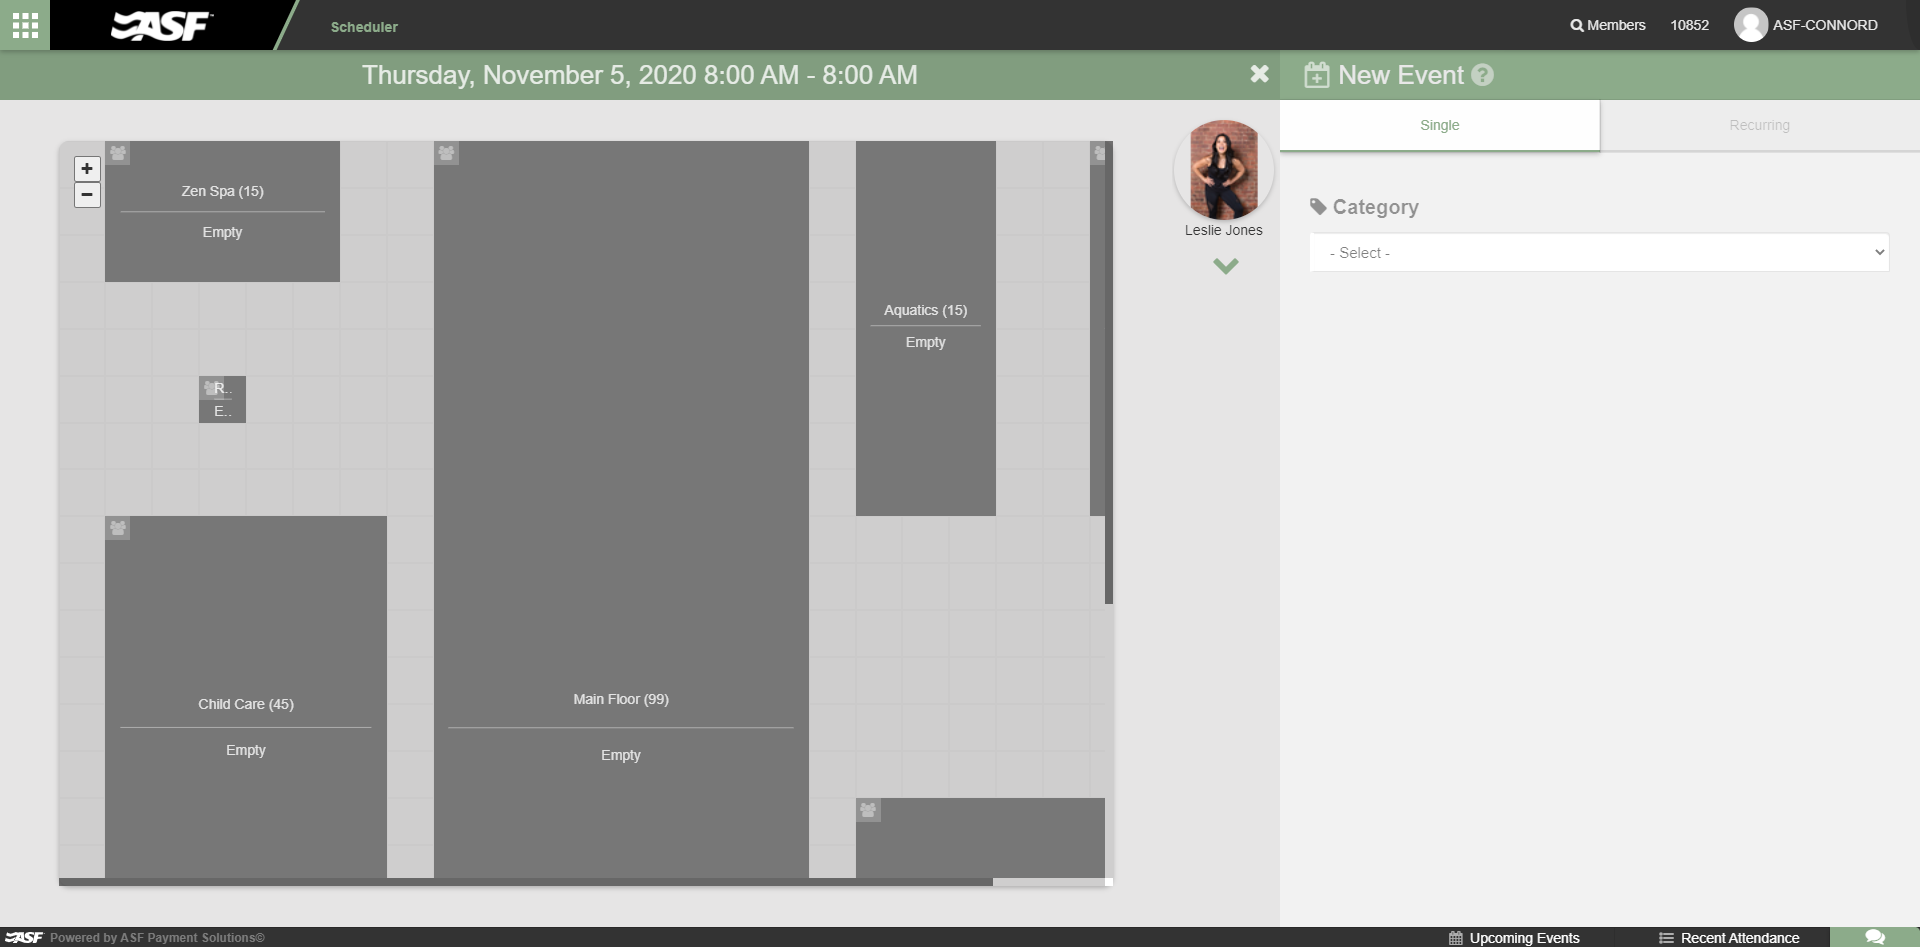
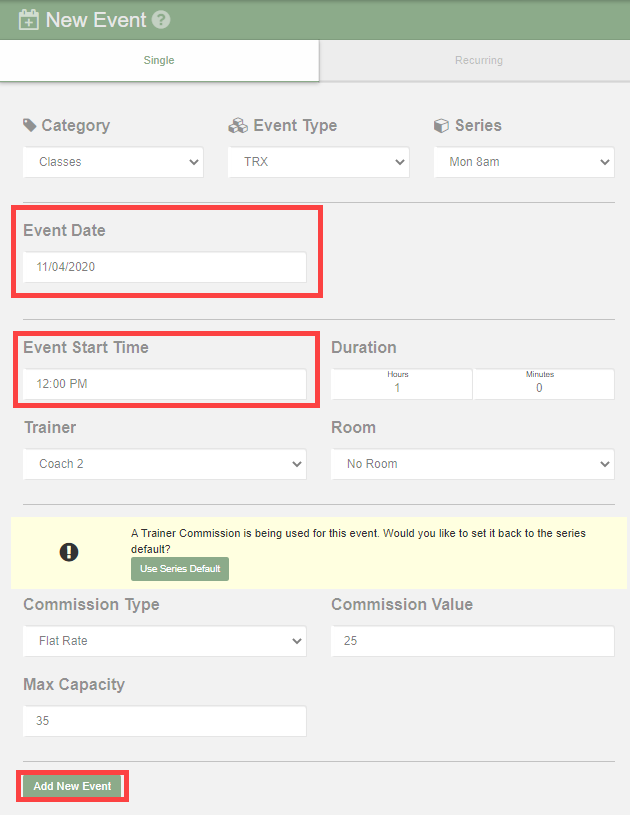
- Click the time slot under the relevant trainer's column to open the New Event window.
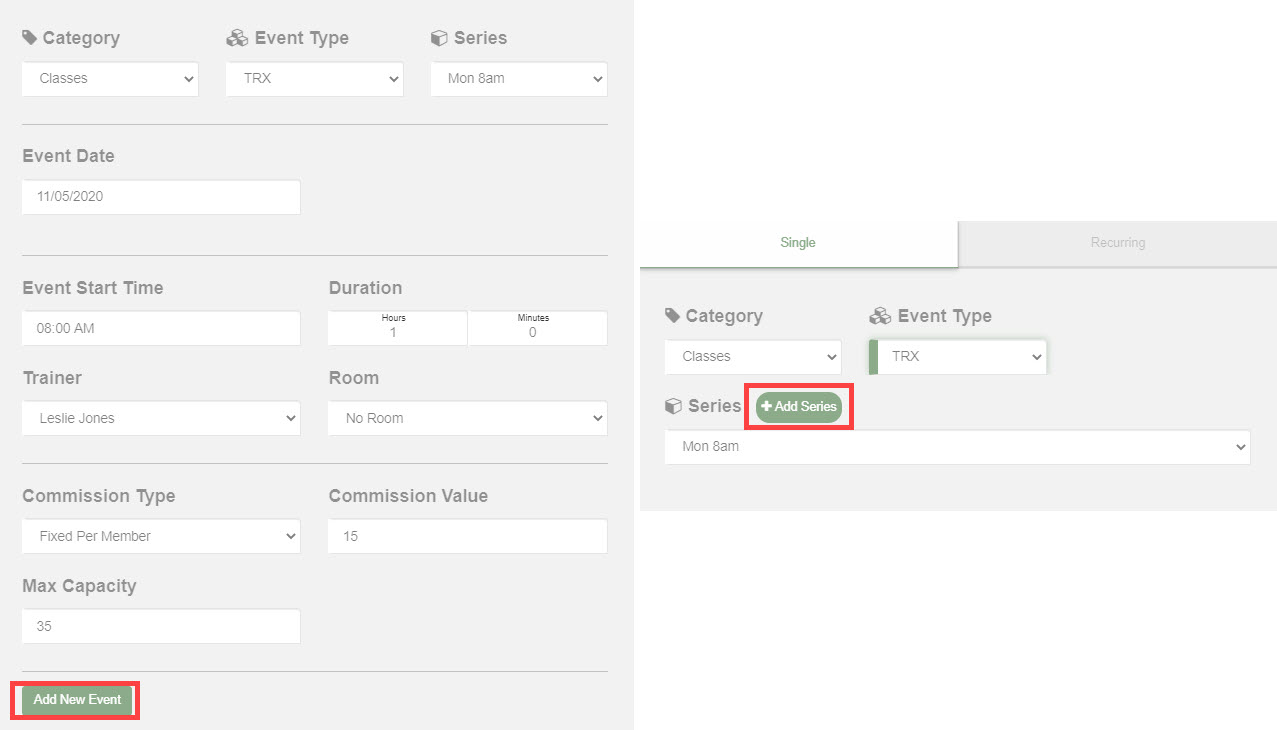
- Select the Category, Event Type, and Series from the available options.
- If the series you need does not exist yet, select Create New Series to add one on the spot.
- Confirm the event details and save.
Scheduling events from Browse #
The Browse section lets you schedule events without having to navigate to a specific date first. It also supports recurring schedules.
- Go to the Browse tab in My Scheduler.
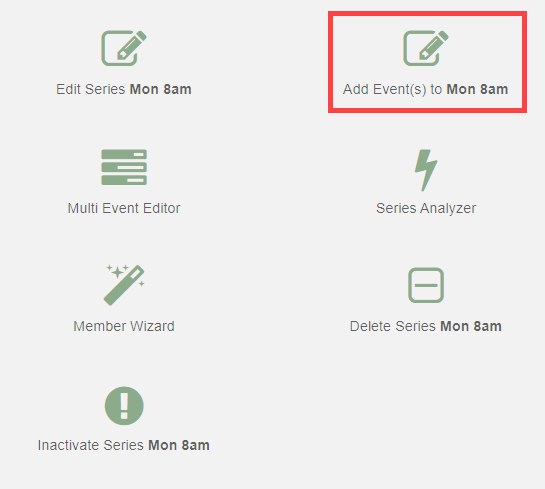
- Select the Category, Event Type, and Series.
- Click Add Events.

Setting up a recurring schedule #
Within the Browse section, you can create a repeating schedule for a series.
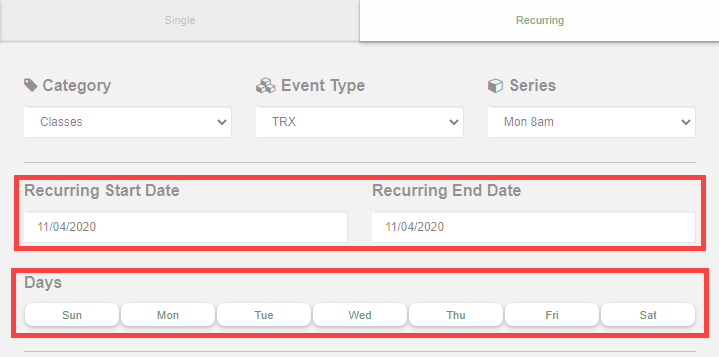
- Select the Recurring tab in the event creation area.
- Set the Start Date and End Date for the recurring period.
- Select the days of the week on which the event should repeat.
- Click Add Events to generate all instances.
Where to go next #
- To edit multiple events at once, see Multi-event editor.
- To use the quick event template for faster scheduling, see Quick event template.
- To check members into events, see Check-in view.
Need help? #
Contact your ASF account manager at clientsupport@asfpaymentsolutions.com.