
Why use users and roles #
If you have employees needing access to My Club Business, creating user accounts allows you to control their permissions and access levels. Roles are a critical feature for managing groups of users with preset permissions, eliminating the need to configure permissions for each individual.
Accessing user settings #
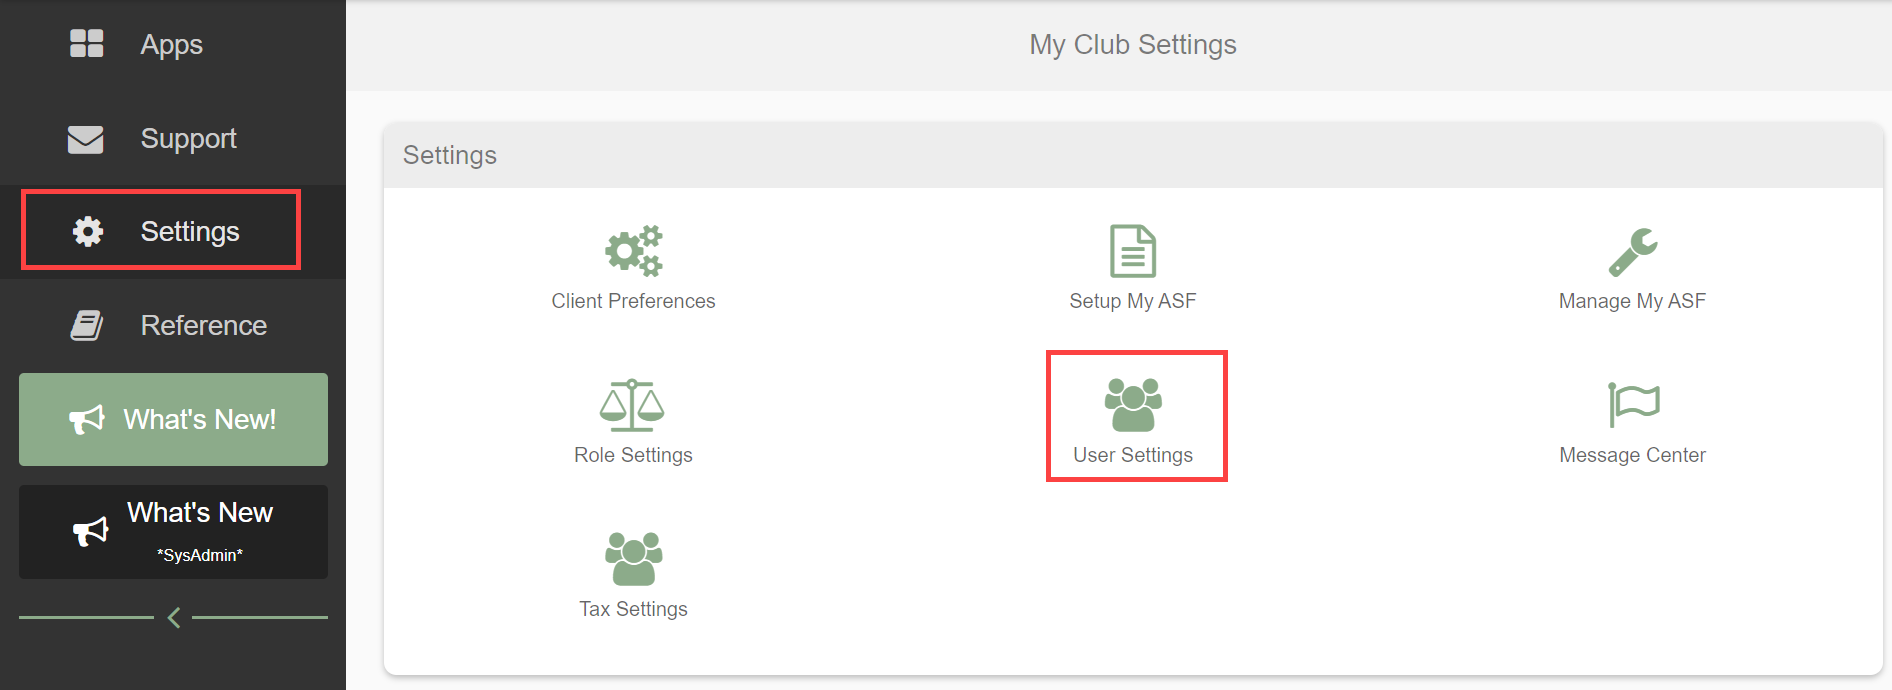
Navigate to Settings from the My Apps page, then select User Settings. The active users list displays username, name, email, status, and role for each account.
Adding a user #
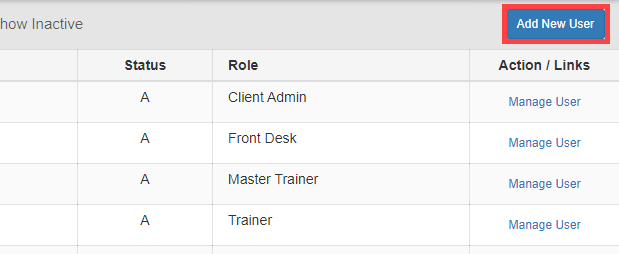
- Select Add New User.
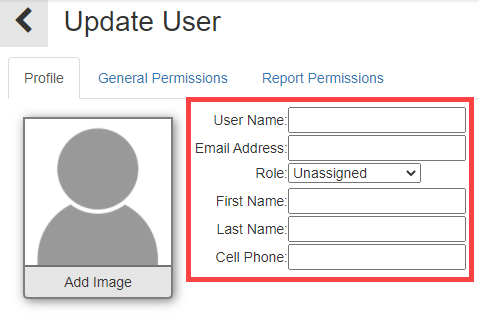
- Complete the profile:
- Username: unique login identifier.
- Email Address: unique contact used for account activation.
- Role: determines permissions via Role Settings.
- First Name and Last Name: user's full name.
- Cell Phone: contact number.
- Optionally add a profile image.
- Click Add New User to create the account.
General and Report Permissions are automatically configured by the assigned role but can be customized if needed.
Managing users #
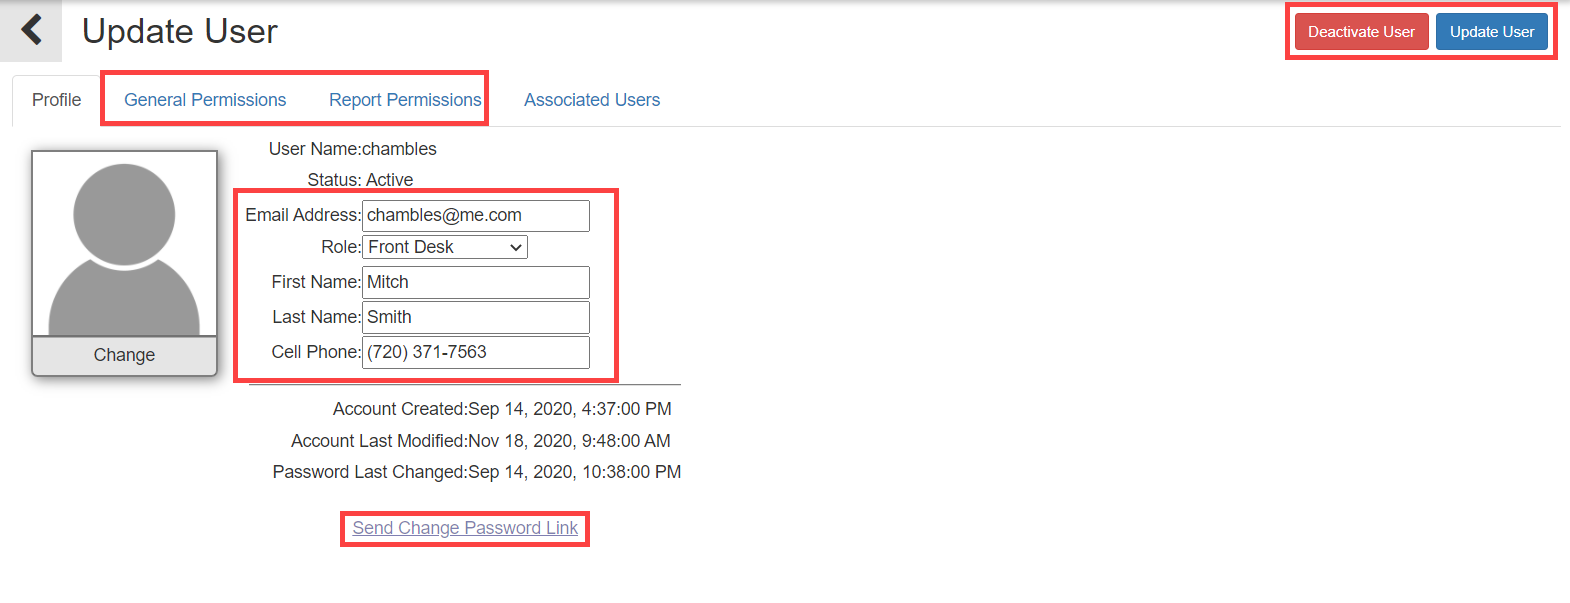
Use the Manage User link to edit user profiles, adjust permissions, add images, or resend password reset links. Select Update User after making changes. Users can also be Deactivated as needed.
Associated users (reciprocal clubs) #
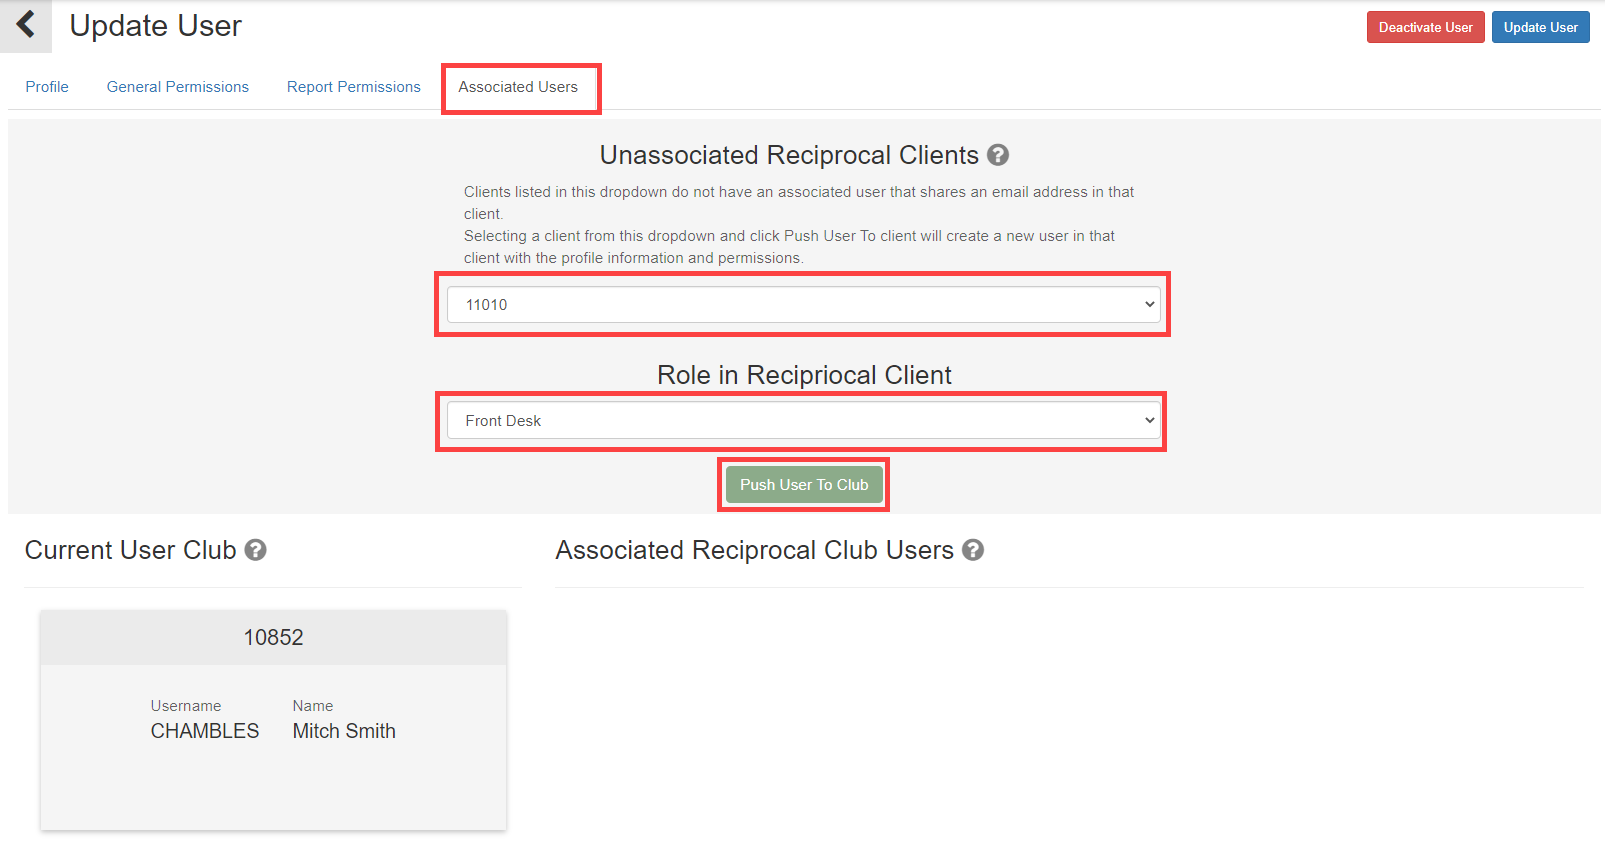
The Associated Users tab lets you add user accounts to reciprocal clubs.
- Select the reciprocal club.
- Assign an appropriate role.
- Click Push User To Club.
The user receives an email to establish their reciprocal club password.
Accessing role settings #
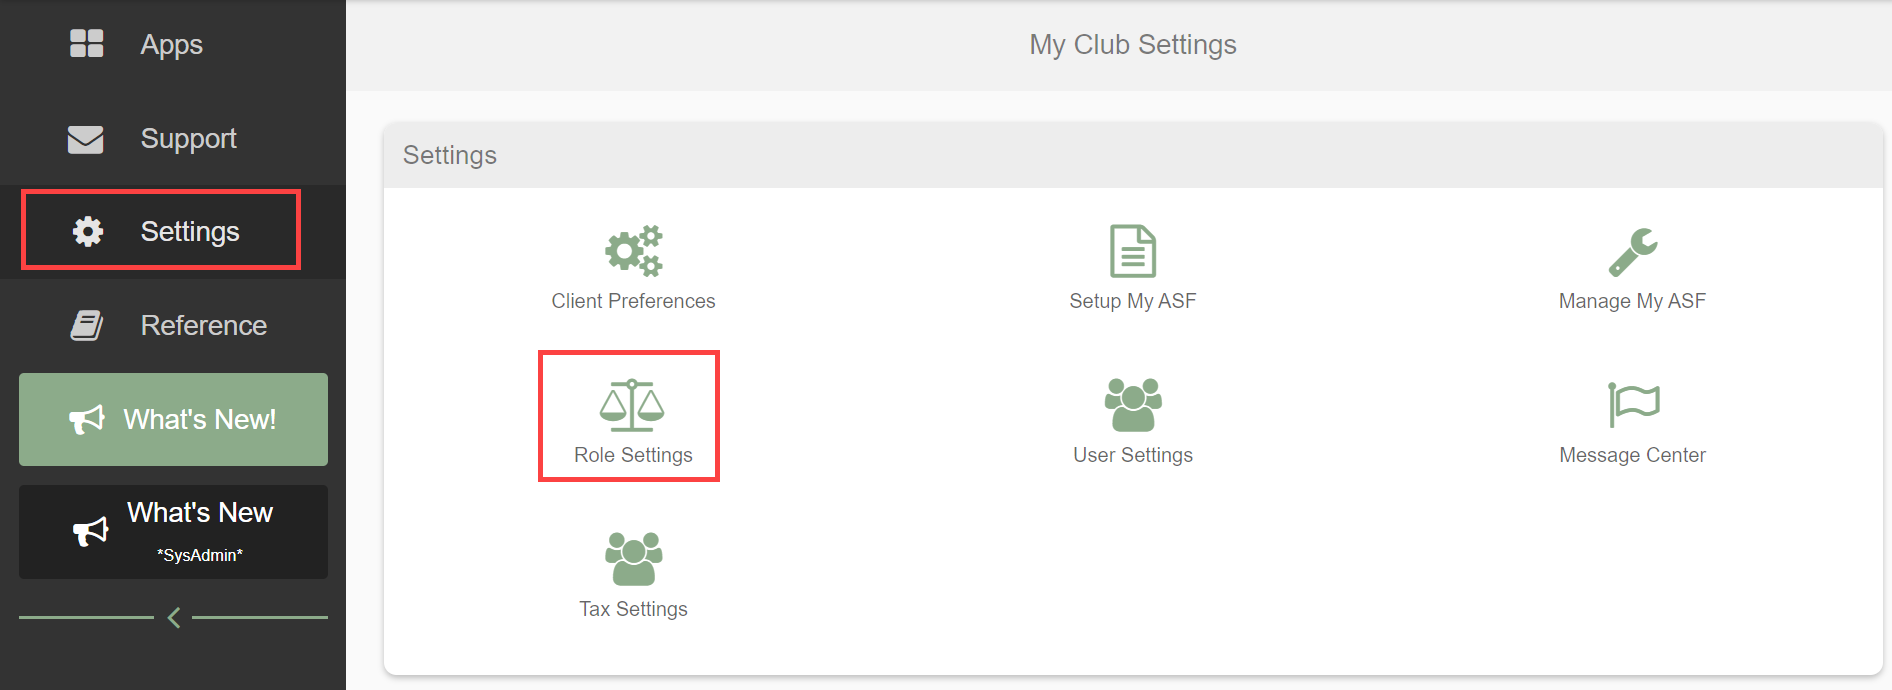
Navigate to Settings from the My Apps page, then select Role Settings to view current roles.
Default roles
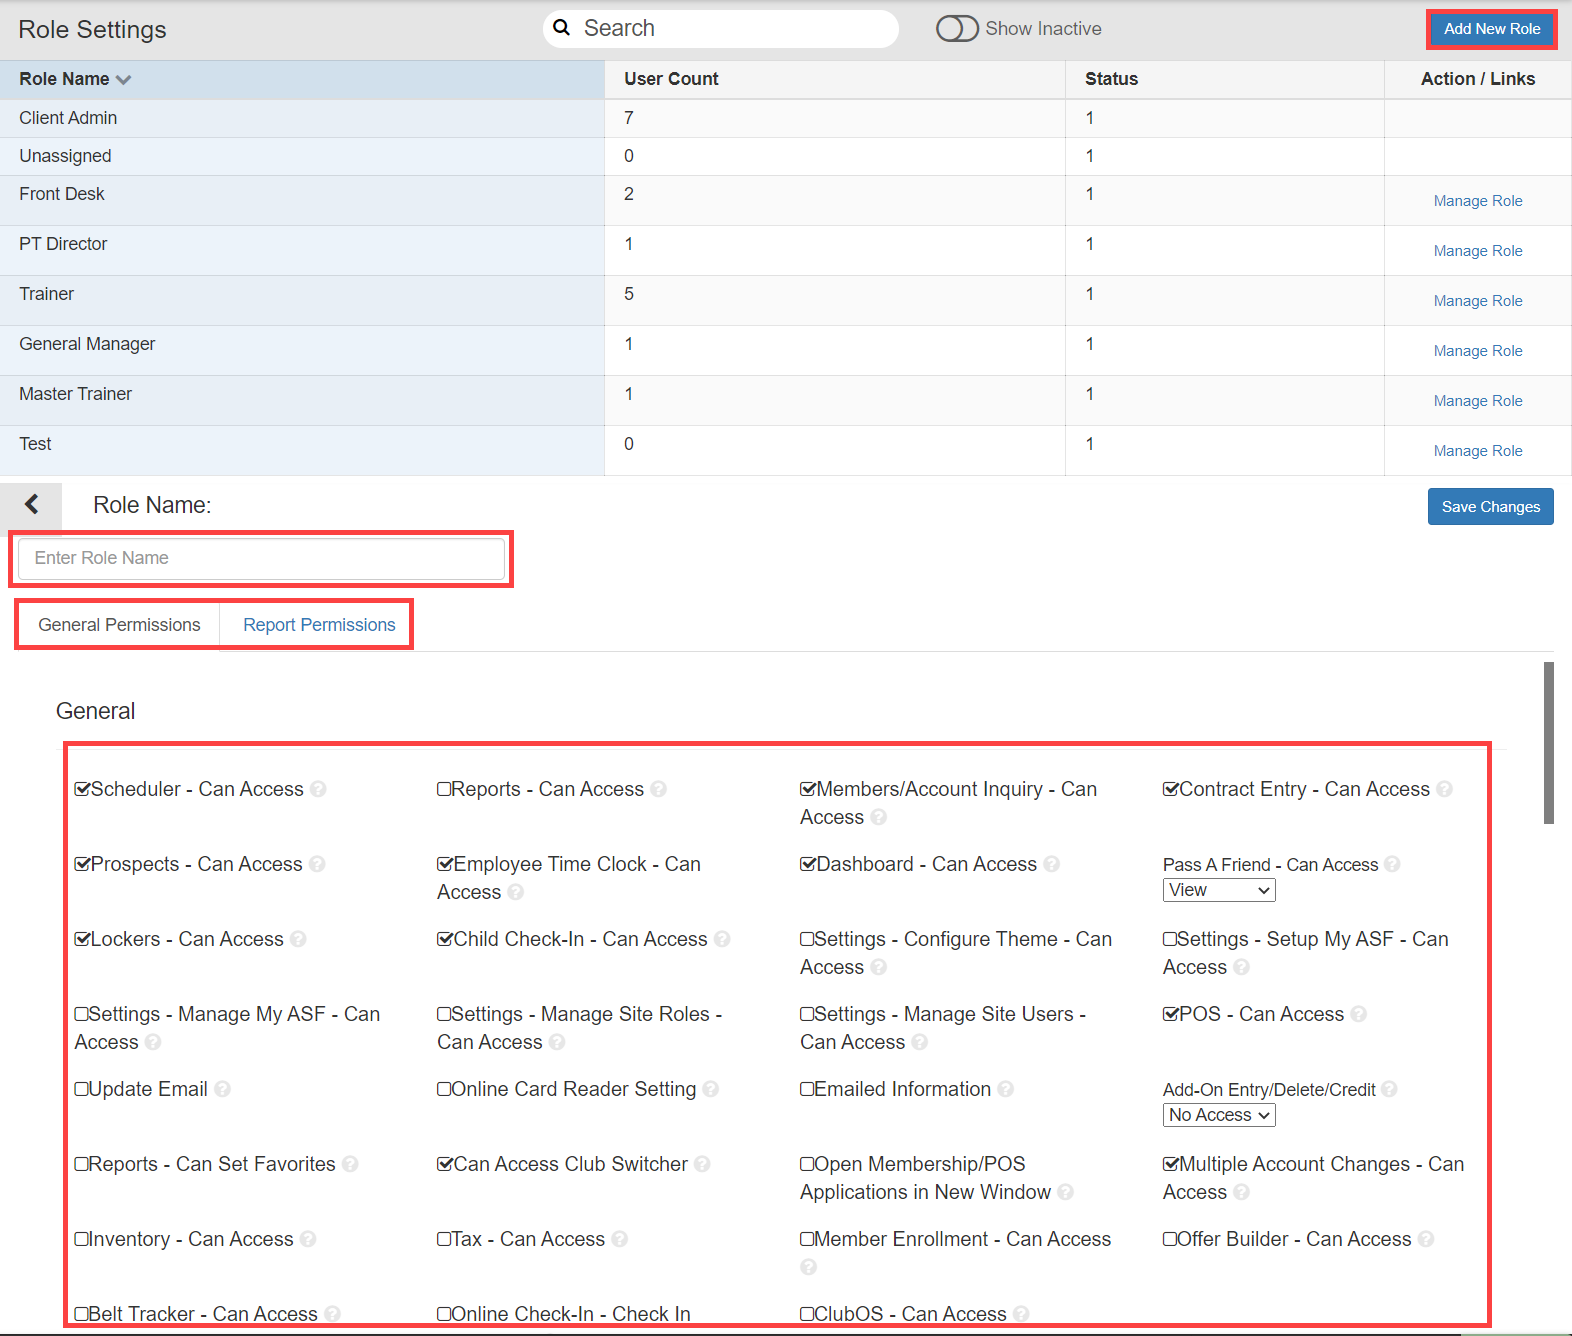
- Client Admin: the master role with unrestricted access to all My Club Business features.
- Unassigned: a default category for unassigned users.
Creating a role #
- Select Add New Role.
- Enter a role name.
- Configure General and Report permissions. Each has a tooltip marked with ? for guidance.
- Click Save Changes.
The new role then appears in the role list.
Managing roles #
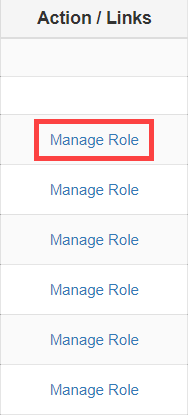
- Select Manage Role from the Action/Links section.
- Update permissions, name, or other settings.
- Changes automatically apply to all associated users.
Important: You can only delete a role if there are no associated users. Check the User Count column to confirm. This restriction prevents deletion of roles currently assigned to staff members.
Where to go next #
- To restrict where staff can sign in from, see Access control.
- To switch between reciprocal clubs without signing out, see Club switcher.
Need help? #
Contact your ASF account manager at clientsupport@asfpaymentsolutions.com.