
Overview #
The Point of Sale (MyPOS) system lets your staff ring up items, process payments, manage inventory, and generate reports. Before your team can run transactions, you need to complete a one-time setup in Inventory Management. Follow the steps below in order.
Setup sequence #
Complete these configuration steps before going live with MyPOS. Each step builds on the previous one.
- Set up item types to define how each product category behaves (physical inventory, prepay, gift cards, and so on).
- Set up categories to organize items into browsable groups on the MyPOS screen.
- Set up attributes to add extra identifiers (size, color, weight) to items that need them.
- Set up vendors so purchase orders are linked to the correct supplier.
- Add inventory items with pricing, SKU, availability, and tax settings.
- Edit inventory items to assign categories and fine-tune item settings after the initial save.
Navigating to Inventory Management #
From the My Apps page, select Inventory Management. The main screen shows your current inventory list on the left, with item type tabs and an Inventory Setup icon in the upper area.

Purchase orders at a glance #
Once your catalog is set up, the primary ongoing task in Inventory Management is managing purchase orders. A purchase order (PO) records your intent to purchase products from a vendor, including item types, quantities, agreed prices, and expected delivery dates.
Access POs via the Bars icon on the Inventory Management main screen. POs have three statuses:
- Active: Placed but not yet received.
- Completed: Received, verified, and accepted into inventory.
- Cancelled: Orders you decided not to fulfill.

Adding a purchase order #
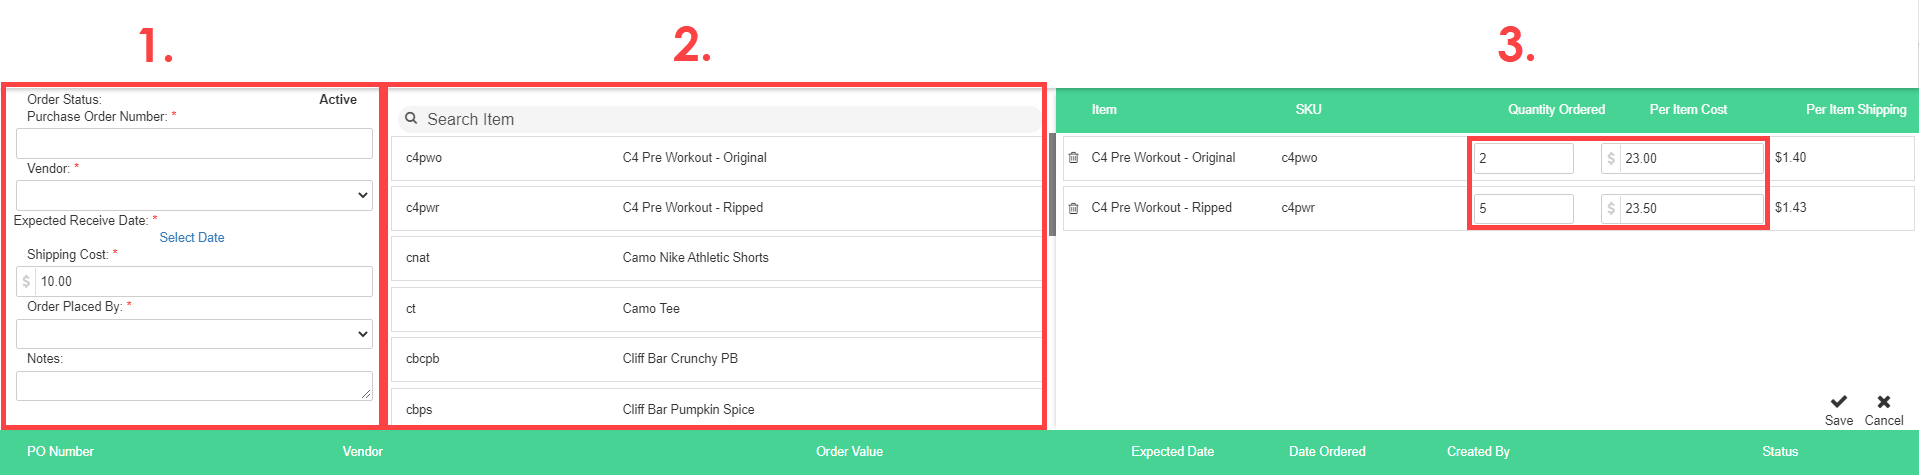
To create a new PO, open the Purchase Orders screen and fill in the required fields:
- Order Status, Purchase Order Number, Vendor
- Expected Receipt Date, Shipping Cost, Order Placed By, Notes
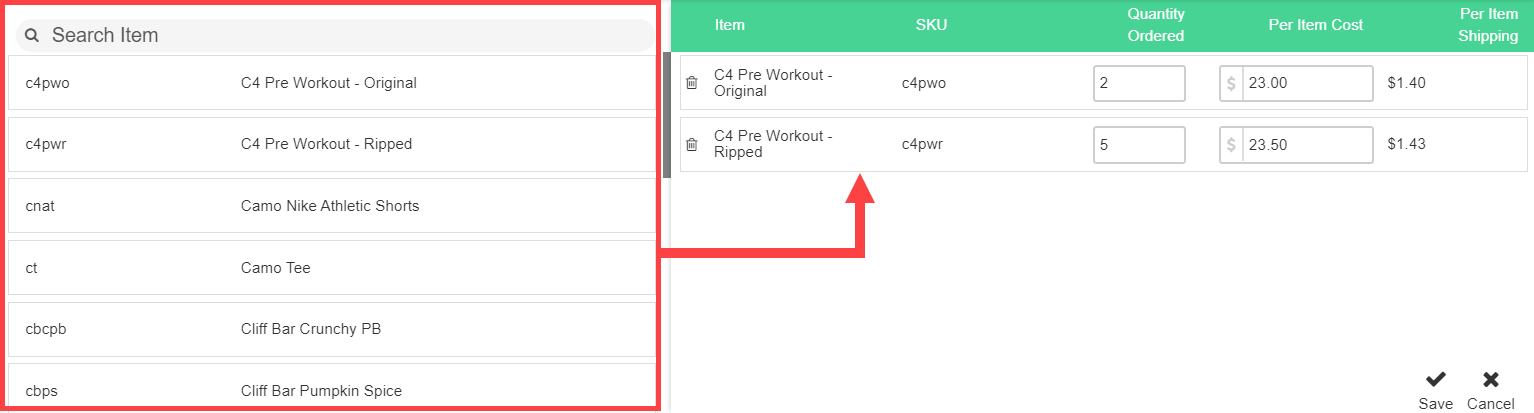
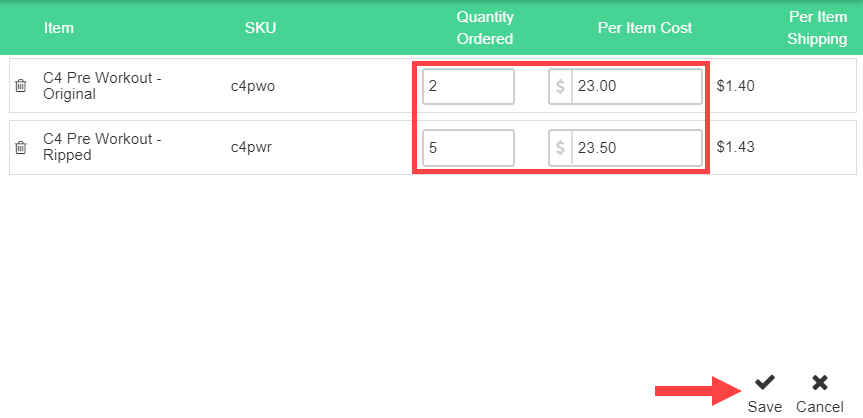
Then select inventory items from the center list, enter quantities and per-item costs, and save.
Completing a purchase order #
When stock arrives, navigate to the Active PO, enter actual received quantities in the Edit Received column, change the status to Complete, and save. This action cannot be undone, so verify quantities before saving.
Cancelling a purchase order #
To cancel an Active or Completed PO, open it, change the Order Status to Cancelled, and save. If a completed PO is cancelled, the associated inventory counts are reduced accordingly.
Where to go next #
- To configure your item catalog, see Categories and item types.
- To add products for sale, see Manage inventory items.
- To set up suppliers, see Vendors and purchase orders.
Need help? #
Contact your ASF account manager at clientsupport@asfpaymentsolutions.com.