
Overview #
Online Check-In can be used as a time clock for tracking employees. Employees clock in the same way a member or prospect checks in. The system tracks their hours and can calculate hourly pay if configured to do so.
Setup requirements #
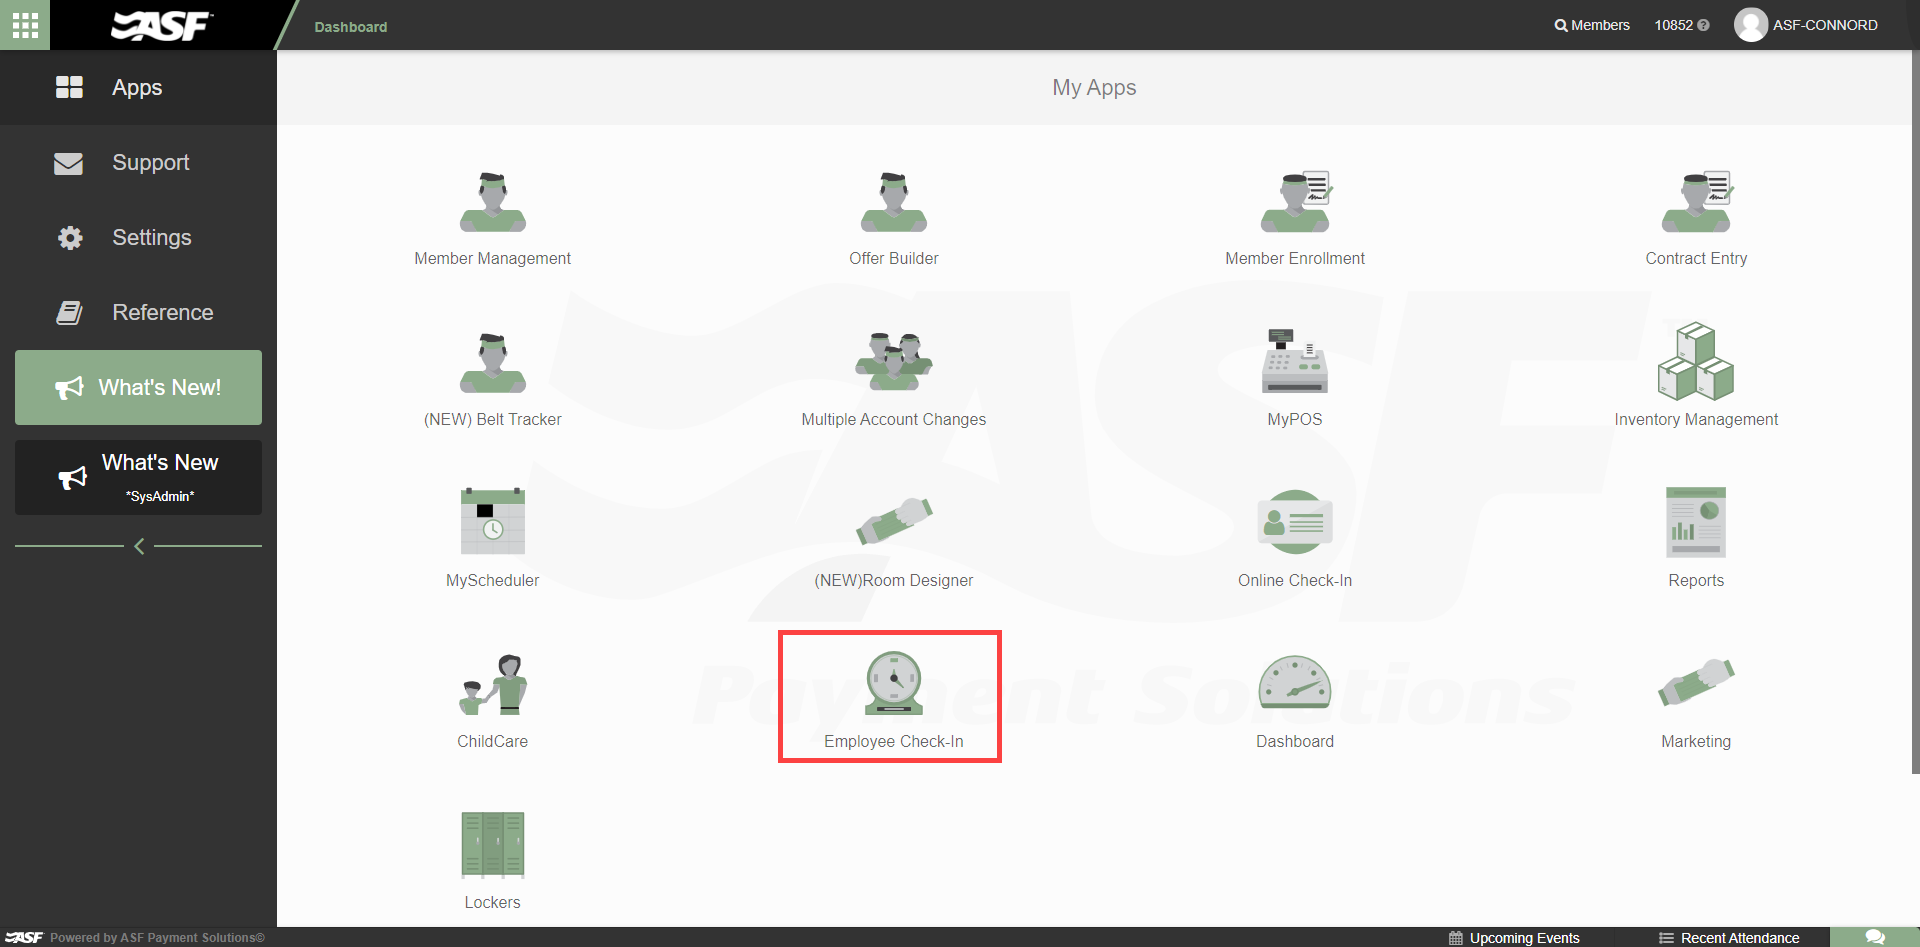
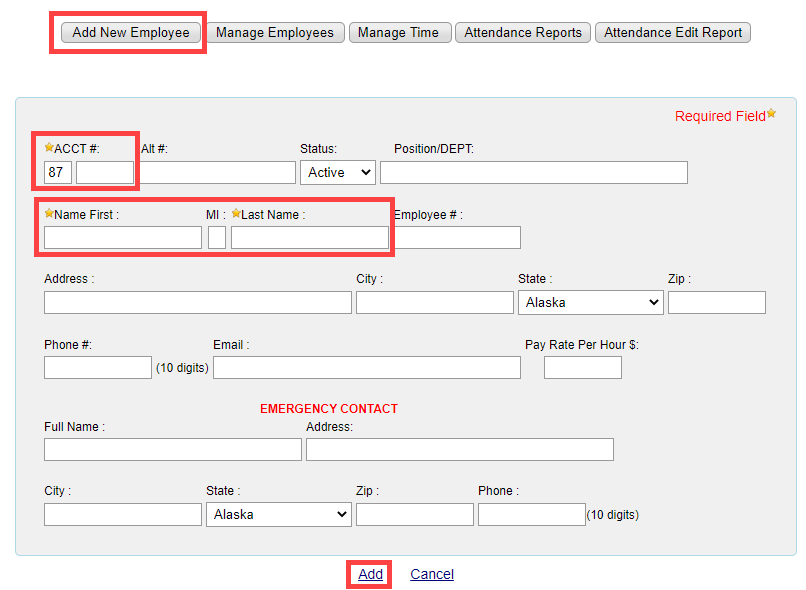
Before employees can be checked in through Online Check-In, each employee must be set up in the Employee Time Clock application.
Employees must have an account number, a first name, and a last name. All other fields are optional. The account number can be any value.
Clocking in #
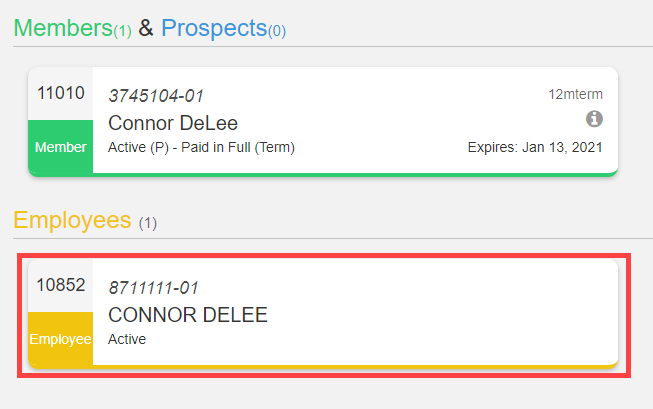
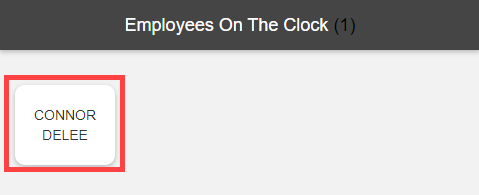
Within Online Check-In, employees search for themselves and select their tile to clock in. Once clocked in, the employee's name appears in the Employees on the Clock section.
Clocking out #
To clock out, the employee selects their own name from the Employees on the Clock section. Their name is removed from the list and the time entry is recorded.
Managing employees #
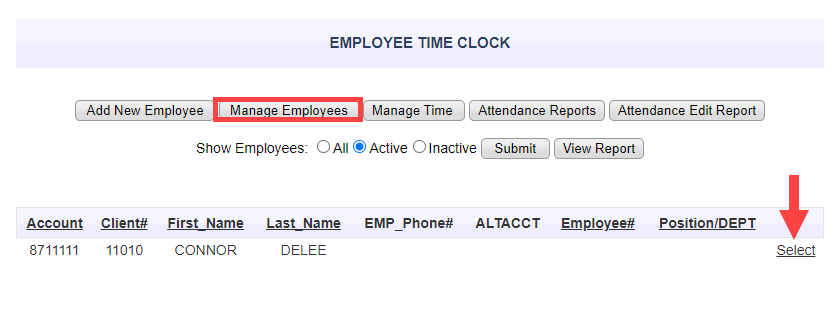
To update an employee's record, select Manage Employees, then click Select next to the employee you need to change.
Managing time entries #
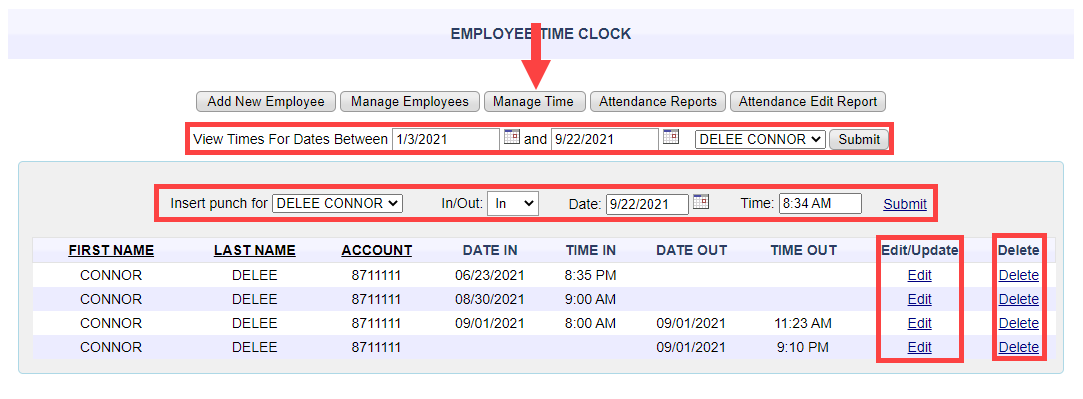
Managers can insert, edit, or delete time entries using the Manage Time tab.
- Select the Manage Time tab.
- Enter the date range you want to view.
- Select the employee whose entries you need to review.
- To add a missing punch, use the Insert punch for line and select either an IN or OUT entry.
- To correct an existing entry, click Edit / Update next to the record.
- To remove an entry entirely, click Delete next to the record.
Attendance reports #
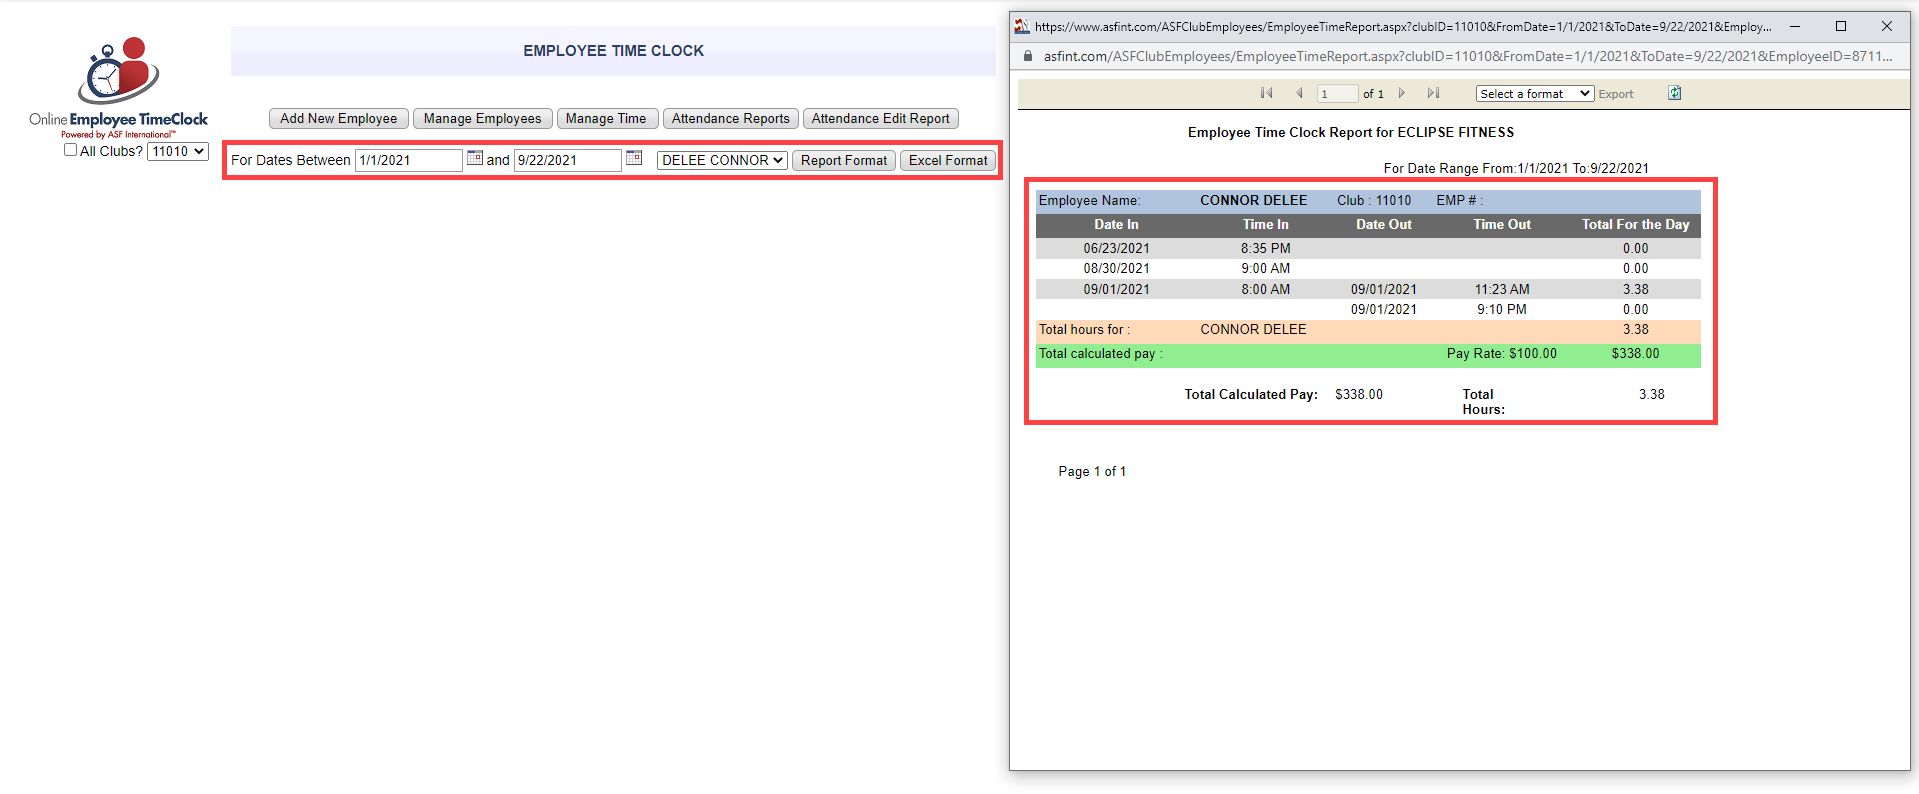
Use the Attendance Reports tab to review time entries for employees and calculate pay amounts. This tab provides a summary of hours worked per employee for the selected date range and is the recommended tool for payroll preparation.
Need help? #
Contact your ASF account manager at clientsupport@asfpaymentsolutions.com.